If you are a wearer of clip-on earrings and you’ve observed that there are a lot plenty of options for ears with piercings than there are for. It is possible to transform any worn-in earrings into clip-ons with the help of an earring converter. What type of converter to choose will be based on the kind of earring being converted as well as whether you want to keep the original earrings. After you’ve transformed your earrings, make adjustments to your earring to allow you to wear them throughout the day.
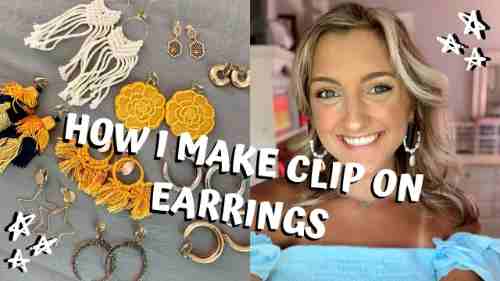
DIY: How to make clip-on earrings from the wire. Design the earrings
A lot of people do not have earrings with holes, so I’ve come up with a fantastic method to build our unique clip-on earrings from just wire. I suggest using the most sturdy wire you’ll be able to handle because it is vitally important for making the clip. DIY, how to make, earrings, Wire, Ring
EAR SCREWS
These ear screws plated that have a loop are offered in gold and silver coated. They fit comfortably on your ear, without the need to pierce your ear – just connect the parts to the back of your ear until they’re securely attached to the ears.
In this design we’ve added paua shell star charms using the aid of jump rings, to create the most eye-catching look!
CLOSURE ON EARRINGS
Clip-on earrings are the most well-known type of earrings for people with non-pierced ears. They snap easily onto the earlobes to hold safely in the ear. Because of the loops that are on the earring, you can personalize them with your preferred gems and ornaments like these earrings with paua Shell discs.
Understanding Clip-On Earring Findings
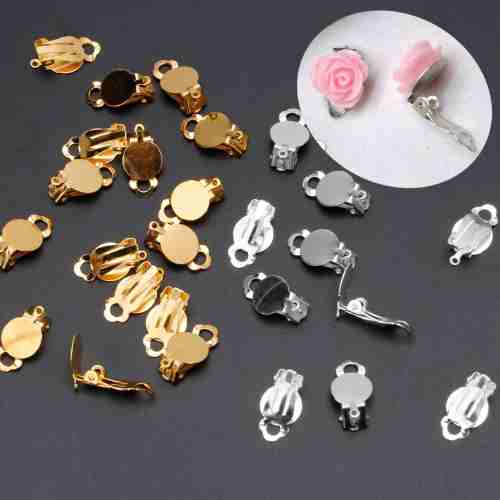
The earring finder is a component of an earring that connects to the ears. If you have pierced earrings The finding is made up of the hook or post to go through the earlobe. The findings for clip-on earring clips are made up of a piece of wire that secures the decorative portion of the earring onto the earlobe. Do not be overwhelmed by the wide variety of clips. Check the earrings you’d like to change to find the finish on the metal and design.
The supplies needed are:
Posts with earring earrings
Earrings with reverses
The epoxy you use can be applied to metallic
Toothpicks
Cutters and/or pliers for wire (depending on the kind of clips)
This is what the earrings looked when they were clip-ons, with tiny lever backs.
To take the lever from its back I made use of two wire cutters that cut the clip at the same distance as is possible.
Then I made use of an u-shaped toothpick (not visible) to apply a tiny amount of epoxy over the post.
Then, I glued the post on the back of my earrings and then pressed it down.
After waiting for the recommended drying time of my epoxy I fitted earrings backs, and was then able to put on my brand new earrings!
I did the same thing to make the second set of earrings that we purchased for our niece, except for the taking off from the backings. For this time, I made use of pliers to gently remove the clips. They fell off quickly and smoothly. If they hadn’t been removed cleanly I’d recommend using some sandpaper, or even a file to smooth the surface of the metal more slack. When the epoxy has dried and you’ve got a surplus, you might require removing it.
I’ve used my pair several times and have not had any problems. They’re sturdy and secure. They might be something I’ll need the time to look over these vintage earrings. In addition to earrings, I’m thinking I might make some adorable hair clippers and other accessories. There are endless possibilities!