Installing today’s floor involves quite some prep artwork, which consists of putting off the vintage tiles. While you could cover up the vintage tiles with the modern-day ones, disposing of the tiles instead has several advantages. These include checking the fitness of your subfloor and seeing if there are any mildew troubles. If you virtually dispose of the tile before beginning any new floor assignment, you’ll be able to see if any problems need to be addressed earlier than you cover them up once more. You ought to make any critical preservation or deal with mold in the vicinity of letting the trouble worsened.
Can I Remove the Tile Myself?
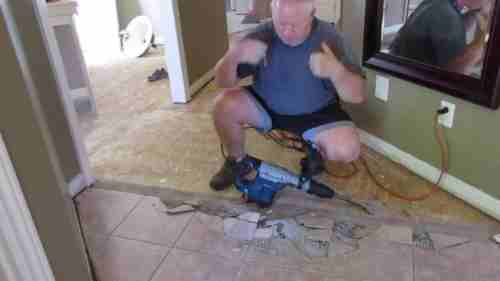
Removing tile yourself is an arduous paintings-extensive undertaking, but it could save you loads of greenbacks that you could have spent on hiring a professional. It’s critical to have everything you want and to do it correctly to avoid unfavorable your subfloor (or the tiles if you need to repurpose them). If you experience a bargain as a DIY mission, self-removal is a splendid way to head.
Tile Removal: Start with a chisel and hand maul
There’s no easy way on the way to get rid of tile. Unlike tile on cement board or wood, no underlayment or subfloor may be pried up and thrown away. Putting off tile from concrete requires knocking out the tiles and adhesive. How to dispose of tile takes time and intricate artwork. Even a tiny restroom will take half a day, at a minimum.
Tile Removal Steps
Removing the Trim
Before you begin getting rid of the tile, step one is to dispose of all trim and baseboards from around the room. Be careful with all the substances you get rid of so that they can be results easily reinstalled while you’ve completed disposing of the tile and characteristics established on your new floor. Also, cover any vents which are probably within the room so that dirt doesn’t get into them (and from there, the relaxation of your house).
Removing the Tile
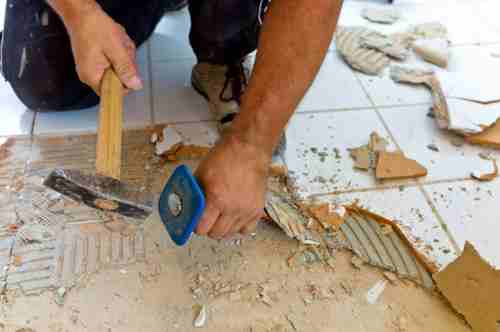
Once you’ve been given all trimmings out of the manner, it’s time to put off the tile. This manner is trickier in case you need to preserve the tiles than in case you’re converting them. If you don’t care about saving the tiles, you could get commenced by using the usage of smashing them with a hammer. Start with the resource of breaking aside an available tile with the threshold of a hammer. Use a chisel to remove the rest of that tile, then take the tiles close to it. You’ll have to break up at least one tile, but if you’re carefully prying up those next to it, you may hold the relaxation. You can use the claw forestall of the hammer, and they should come up without a problem. If you don’t care about saving the tile, you could harm them with the hammer if you discover that simpler than prying them up. If your tile adheres to the floor with cement, keeping the tile won’t be an alternative. If the tiles won’t come up with effects, then ruin them with the hammer and use the floor scraper to put it off.
Remove Underlayment (if Necessary)
Depending on the scenario of the underlayment and the necessities of the cutting-edge flooring, it could be most effective to cast off the prevailing cement board or plywood underlayment currently. If the underlayment is wrongly broken or the advanced floors require a considered one-all type of underlayment, now is the time to take away and update the antique underlayment.
This is commonly completed with the valuable resource of decreasing the underlayment into feasible sections, using a round noticed with the blade set to the identical thickness because of the underlayment. Once the underlayment is lessened into cells, it could be unscrewed or pried up for removal.
Clean Up
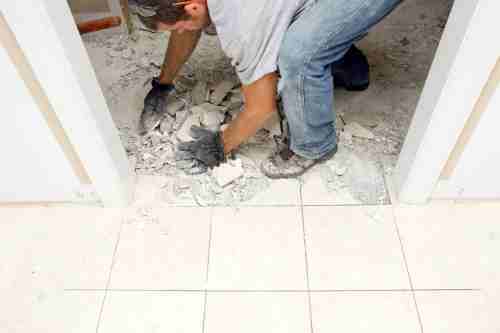
Use a scoop shovel and broom to get rid of debris. Sturdy contractor trash bags can be used to hold particles for disposal. Check with close by authorities on disposal requirements; you may need to set up the shipping of this fabric to a selected construction waste disposal internet website online.
Complete the cleanup by using a shop vacuum to remove any dust.